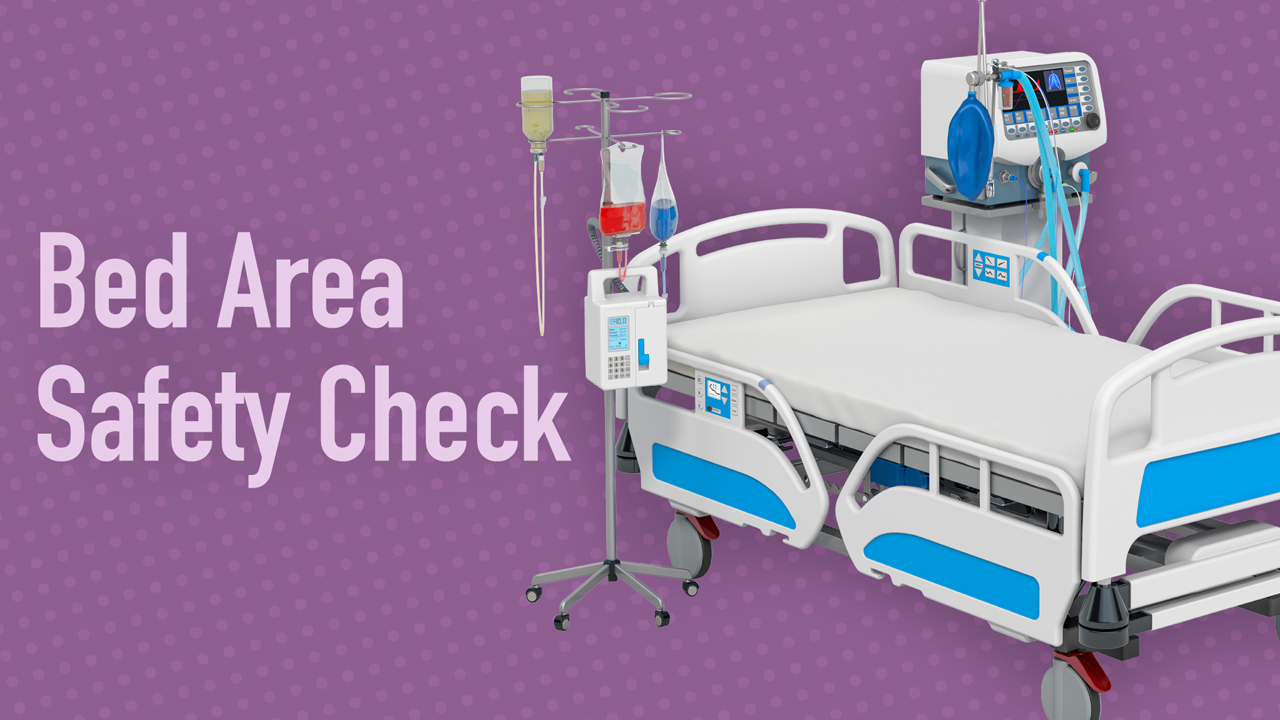
Bed safety checks in intensive care units and high-acuity clinical areas may seem like an easy and basic task. However, they are a crucial responsibility, which, if performed incorrectly, may impact patient survival in an emergency situation. Bed area safety checks are an important aspect of patient assessment.
What is a Bed Safety Check?
A bed safety check is the first task you should undertake after handover at the commencement of your shift. It involves:
- Ensuring all equipment is available and working in the event of patient deterioration or another adverse event
- Ensuring the patient’s bed space is tidy, safe and free from potential harm to the patient, clinicians or visitors.
(ARC & NZRC 2024; CICM 2016)

How to Perform a Bed Safety Check
- Perform hand hygiene and don appropriate PPE (if necessary) before entering the patient area.
- Introduce yourself to the patient and explain what you are doing.
- Check the patient’s identification band.
- Ensure the call bell is within reach of the patient.
- Check oxygen and suction.
- Clinicians must be familiar with the location of all resuscitation equipment within their clinical area, including bag-valve-mask.
- Wall oxygen and suction must be checked, with appropriate tubing connected. Bag-valve-mask should be connected to oxygen, ready for use in an emergency. Yanker sucker should be connected to the suction outlet.
- Portable oxygen and suctioning should also be located and checked in case the wall supply is not working.
- Blood pressure cuff, pulse oximetry and 5-lead cardiac monitoring should be in situ on the patient for continuous and regular observations (in high-acuity clinical areas).
- Locate the emergency trolley and automated external defibrillators (AED). Early CPR and defibrillation decreases mortality rates.
- Check that all intravenous lines are attached to infusion pumps and ensure the right medicine is in the correct intravenous fluid bag (check this with two Registered Division 1 Nurses at handover).
- Trace the arterial and central venous access devices back to the pressure bag.
- The arterial and central venous pressure devices must be transduced at the level of the phlebostatic axis and zeroed. This landmark is found at the level of the fourth intercostal space, mid-axillary line.
- The arterial and central line transducer set pressure bag should be inflated to 300 mmHg (check local hospital policies and procedures). It serves to prevent the backflow of blood from the cannula into the administration set.
- Ensure all drain tubes and indwelling catheters are free from occlusion and remain safe at their location.
- Check mechanical ventilation or non-invasive ventilation devices (if applicable), ensuring all settings are correct as per the patient’s treatment plan.
- Ensure warm humidification, such as humidified high-flow cannula therapy, is attached to the ventilator or non-invasive ventilation devices.
- Remove any furniture or equipment that is no longer needed out of the bed space.
(ARC & NZRC 2024; Butcher et al. 2025; The Royal Hospital for Women 2016; Williams et al. 2025; WACHS 2019; SCHN 2024; Hyzy 2024)
Note: There may be a nurse allocated to conduct an additional equipment check. A system should be established to ensure that equipment is replaced when necessary and checked for safety (CICM 2016).

Possible Bed Safety Issues
- Bag-valve-mask may not be available in an emergency situation. This can be detrimental - call for help and start CPR.
- If there is no yanker sucker available to remove secretion from the patient’s mouth, call for assistance.
- If the patient deteriorates, call for assistance and begin basic life support.
- If general equipment is not available for continuous haemodynamic monitoring, call for assistance and get a colleague to locate the equipment.
Conclusion
A bed safety check should be the first task performed after handover.
Ensure that all equipment is working and ready to use, and familiarise yourself with the locations of additional emergency equipment such as the emergency trolley. If any equipment is not in the bed area, replace it immediately. Remember, it is your responsibility to ensure your bed area is safe.
Test Your Knowledge
Question 1 of 3
What is the primary reason for conducting a bed safety check at the start of a shift?
Topics
References
- Australian Resuscitation Council & New Zealand Resuscitation Council 2024, Standards for Resuscitation: Clinical Practice and Education, Australian Resuscitation Council & New Zealand Resuscitation Council, viewed 7 May 2025, https://resus.org.au/standards-for-resuscitation-clinical-practice-and-education/
- Butcher, JT, Vashisht, R, Ladd, M & Cooper, JS 2025, ‘Bag Mask Ventilation’, StatPearls, viewed 7 May 2025, https://www.ncbi.nlm.nih.gov/books/NBK441924/
- College of Intensive Care Medicine of Australia and New Zealand 2016, Minimum Standards for Intensive Care Units, College of Intensive Care Medicine of Australia and New Zealand, viewed 7 May 2025, https://www.cicm.org.au/common/Uploaded%20files/Assets/Accredited%20Sites/Unit%20Seeking%20Accreditation/IC-1-Minimum-Standards-for-Intensive-Care-Units.pdf
- Hyzy, RC 2024, Heated and Humidified High-Flow Nasal Oxygen in Adults: Practical Considerations and Potential Applications, UpToDate, viewed 7 May 2025, https://www.uptodate.com/contents/heated-and-humidified-high-flow-nasal-oxygen-in-adults-practical-considerations-and-potential-applications/print
- The Royal Hospital for Women 2016, Emergency Equipment - Checking and Maintenance, New South Wales Government, viewed 7 May 2025, https://www.seslhd.health.nsw.gov.au/sites/default/files/documents/EmergEquip.pdf
- The Sydney Children's Hospitals Network 2024, Guideline: Humidified High Flow Nasal Cannula Therapy, New South Wales Government, viewed 7 May 2025, https://resources.schn.health.nsw.gov.au/policies/policies/pdf/2010-8044.pdf
- WA Country Health Service 2019, Arterial Line Insertion - Transducing and Monitoring - Clinical Practice Standard, Government of Western Australia, viewed 7 May 2025, https://www.wacountry.health.wa.gov.au/~/media/WACHS/Documents/About-us/Policies/Arterial-Line-Insertion---Transducing-and-Monitoring-Clinical-Practice-Standard.pdf?thn=0
- Williams, C, Pasrija, D, Pierre, P & Keenaghan, M 2025, ‘Arterial Lines’, StatPearls, viewed 7 May 2025, https://www.ncbi.nlm.nih.gov/books/NBK499989/

